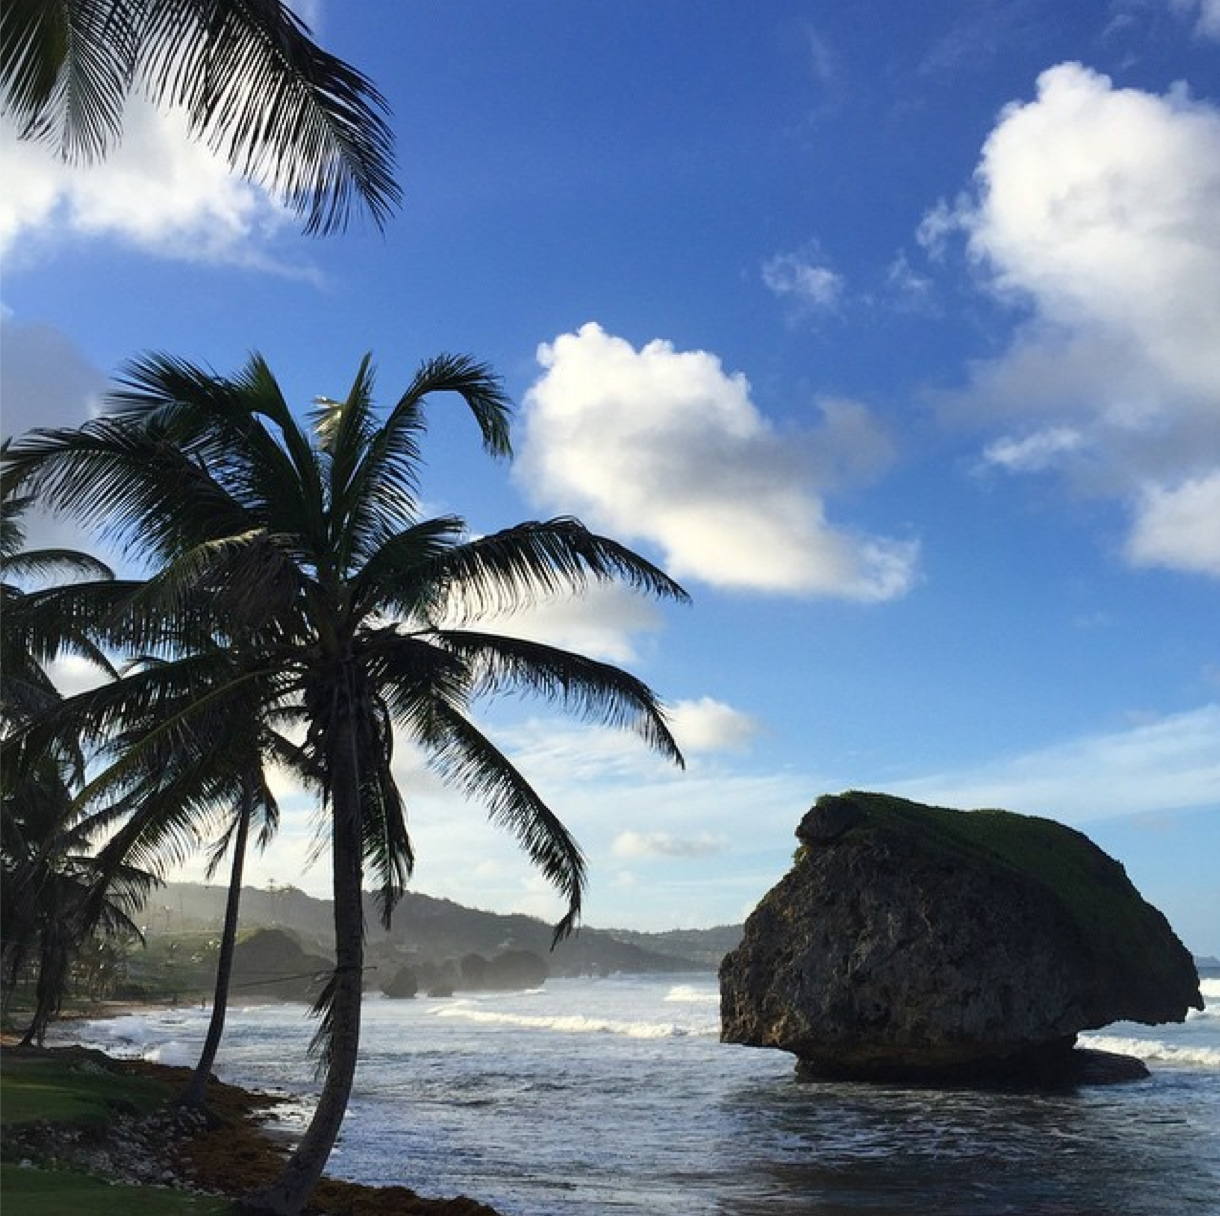
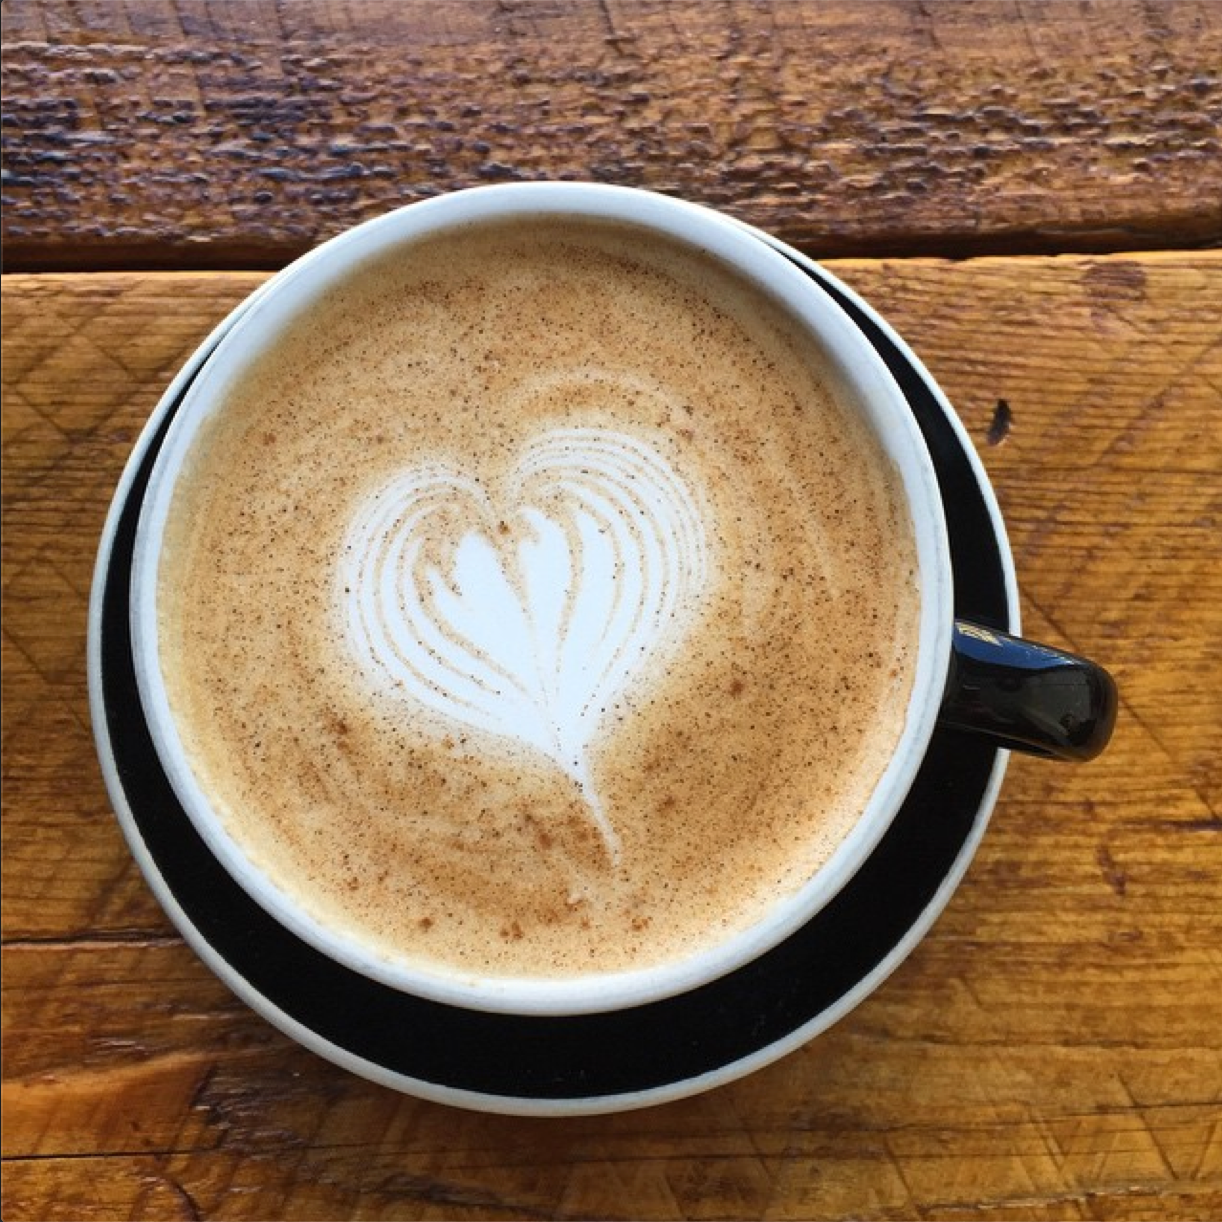
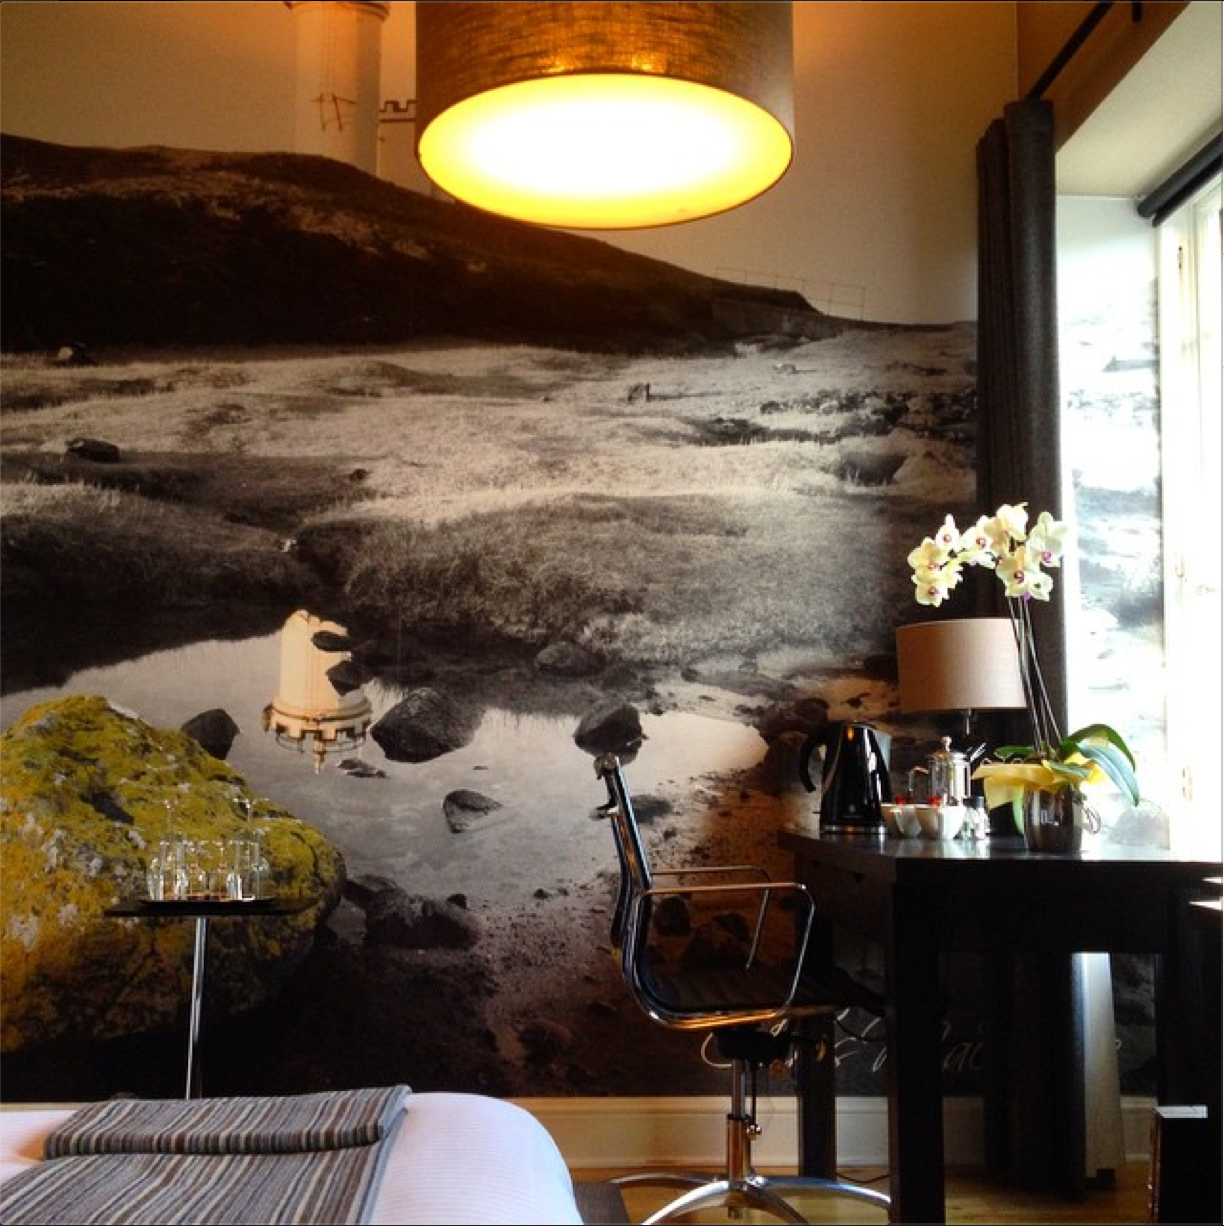
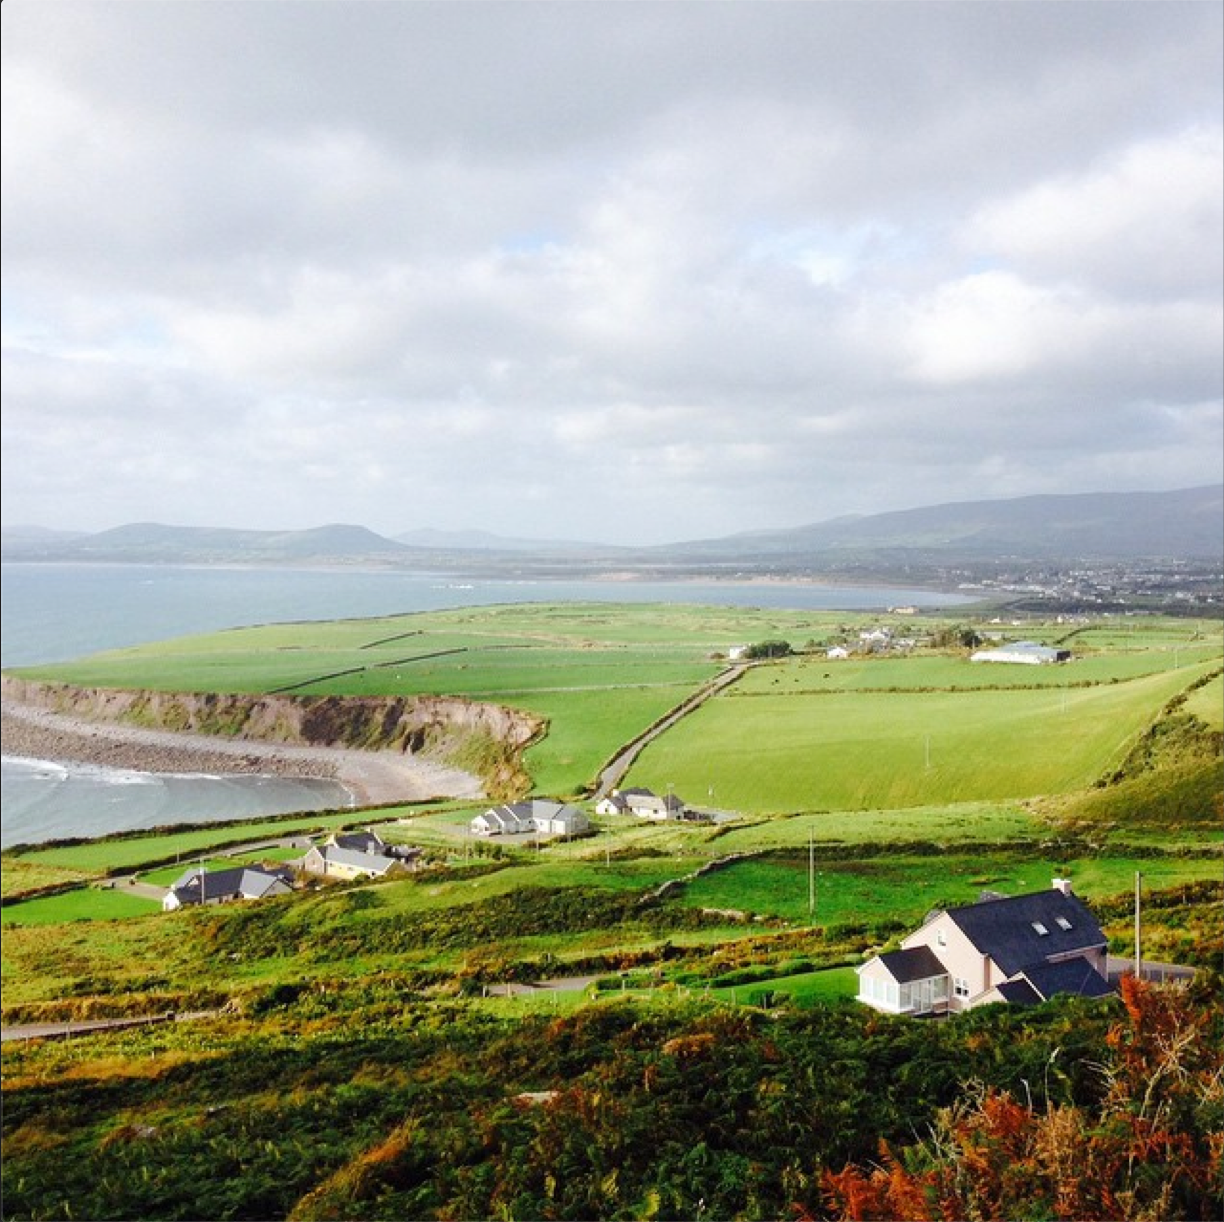
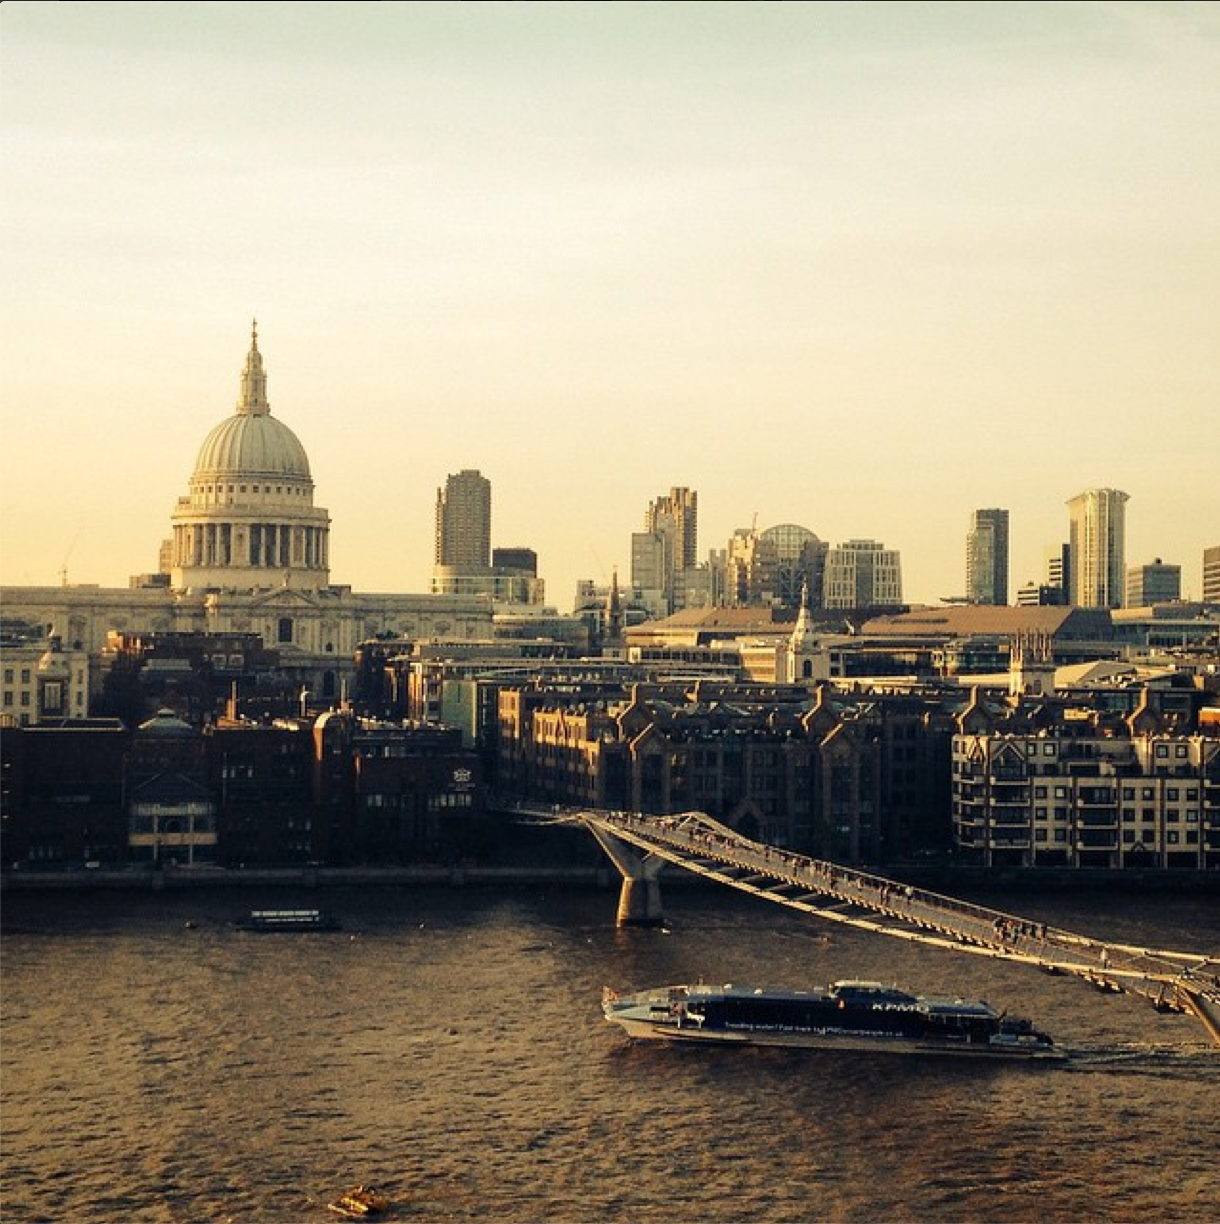
Let’s tick off all the things that are Instagram-worthy while travelling. That perfect sunset, the pretty architecture on a building, the selfie and view from atop a mountain post-hike, or the best cocktail you’ve ever had. We could go on and on – trips beg for a social media update, especially in photo form. It’s why we’re all so addicted to posting and sharing as we hop from place to place. But to really capture that amazing travel moment and convey it in a tiny square you may need a few tips. Here are Travel & Style’s best tricks for getting that double-click on your pictures.
1. Think About Composition
It’s a photographers first lesson – composing the photo for the best results – and the same thing applies to your Instagram pictures even though it’s a small square. The main rule of thumb that all photographers swear by is the “rule of thirds” – dividing your photo in thirds horizontally and vertically. The main idea is that a photo needs somewhere to draw the eye – a focal point and having it in one third of the screen adds interest, making it more pleasing to the eye. It also means that you won’t leave your follower hanging because you will be setting the stage and giving them context.
2. Pick The Right App
Sometimes a square image just doesn’t do you justice. Think about a beautiful landscape and trying to cram it into a square without cutting some of it off. There are loads of other apps out there that help make your horizontal or vertical image square by adding white space around it. Our top pick is Whitagram, but we also love Square InstaPic and Cropic.
3. Get The Lighting Right
When you can’t adjust a phone camera the way you would on a professional one, you really need to make sure you get your lighting right in the first place. Natural light is always our go-to and the best for capturing a scene or object at its best. It can also mean that you can skip filters sometimes. Be mindful of back lighting which can darken your foreground ad use the sun to your advantage (sun flares can look amazing with a beach scene, but harsh rays can also cause pesky shadows). And as a rule, we’re generally not a fan of shooting at night, especially when it comes to food. But if you do hunt down the most natural looking lighting you can find.
4. Prep Your Scene
A little bit of styling goes a long way. Adjusting your food a bit (adding in a cup of tea, pretty cutlery, a pop of colour on a napkin), styling your travel bag with your packing essentials, making sure your hotel room is tidy and freshening up your hair and makeup for a selfie can make all the difference between a ho-hum photo and one that will garner a lot more likes.
5. Get Focused
Most phone cameras now have focusing abilities allowing you to adjust the focal point when you take the picture. This can really change the aspect of your photo, especially if you’re looking to do a close up shot of a flower, food or drink. Plus it also allows you to adjust the exposure.
6. Pick the Right Filter or Don’t Pick One at All
The trickiest thing with Instagram is to get the right filter. When Instagram first came out people went a bit filter crazy, but now it’s more about getting the picture right before you add in a filter. Keep it simple and consistent if you can – your overall Instagram feed will look fresh and clean if you do this. And don’t always assume you need a filter! Sometimes just adding a touch of contrast, brightness or saturation will really enhance you photo. We’re big fans of adding contrast and saturation to really make those greens, blues and reds pop – making it super pleasing and capturing your best travel moments.

